
Wastin’ Time: A deep dive into the Mancini family’s greatest hits shows you’re never too old to play around
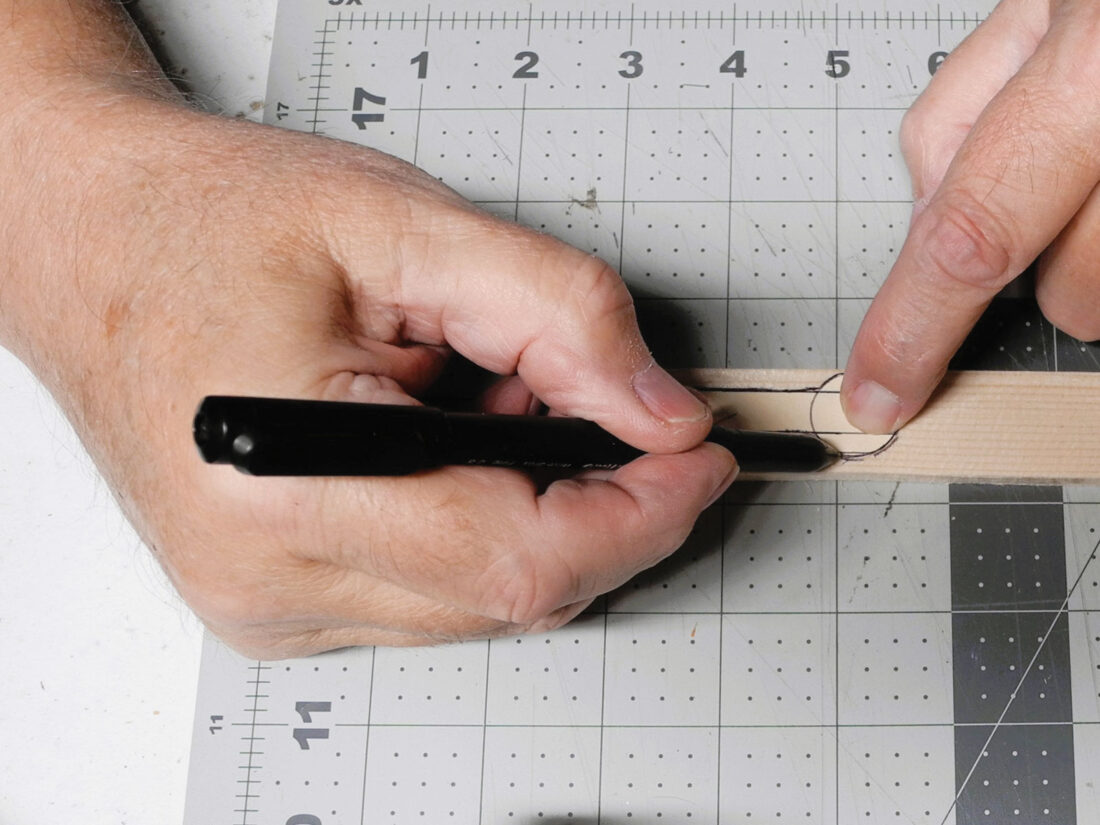
I made a template of the arms and legs from heavy paper and traced it onto the wood. (Photo courtesy of Jess Mancini)
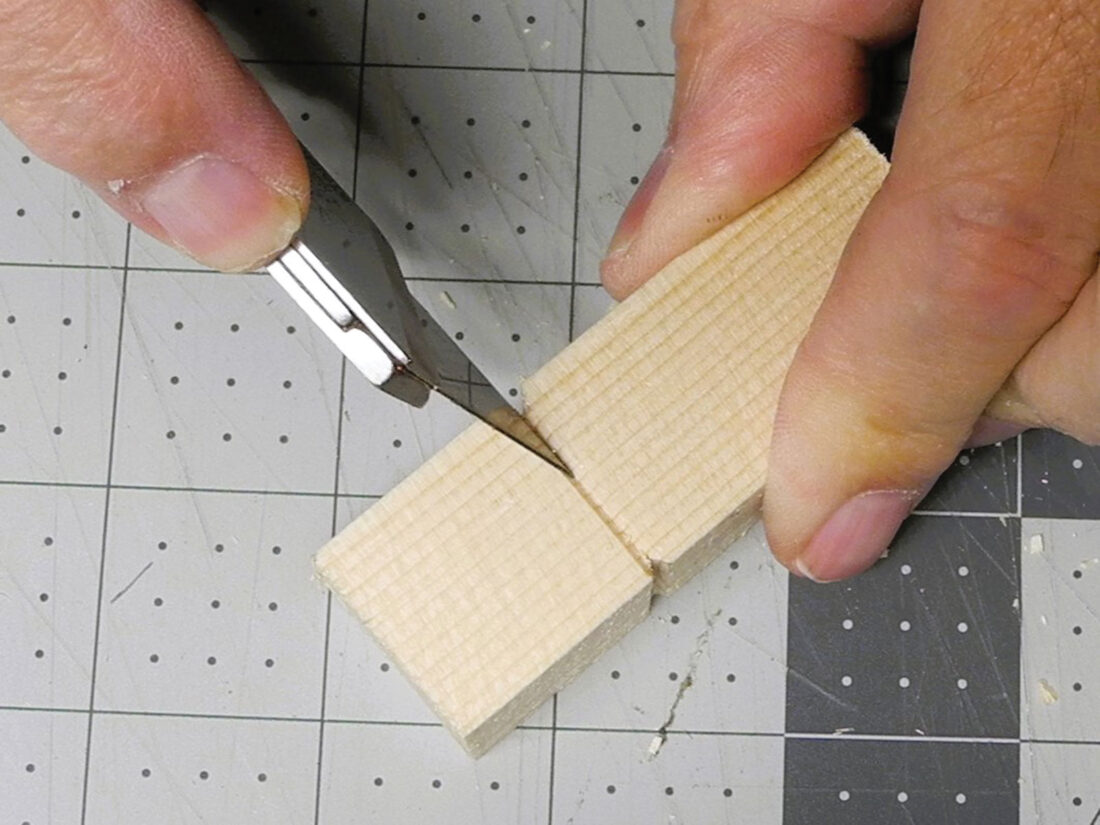
The groove divides the head from the torso. (Photo courtesy of Jess Mancini)
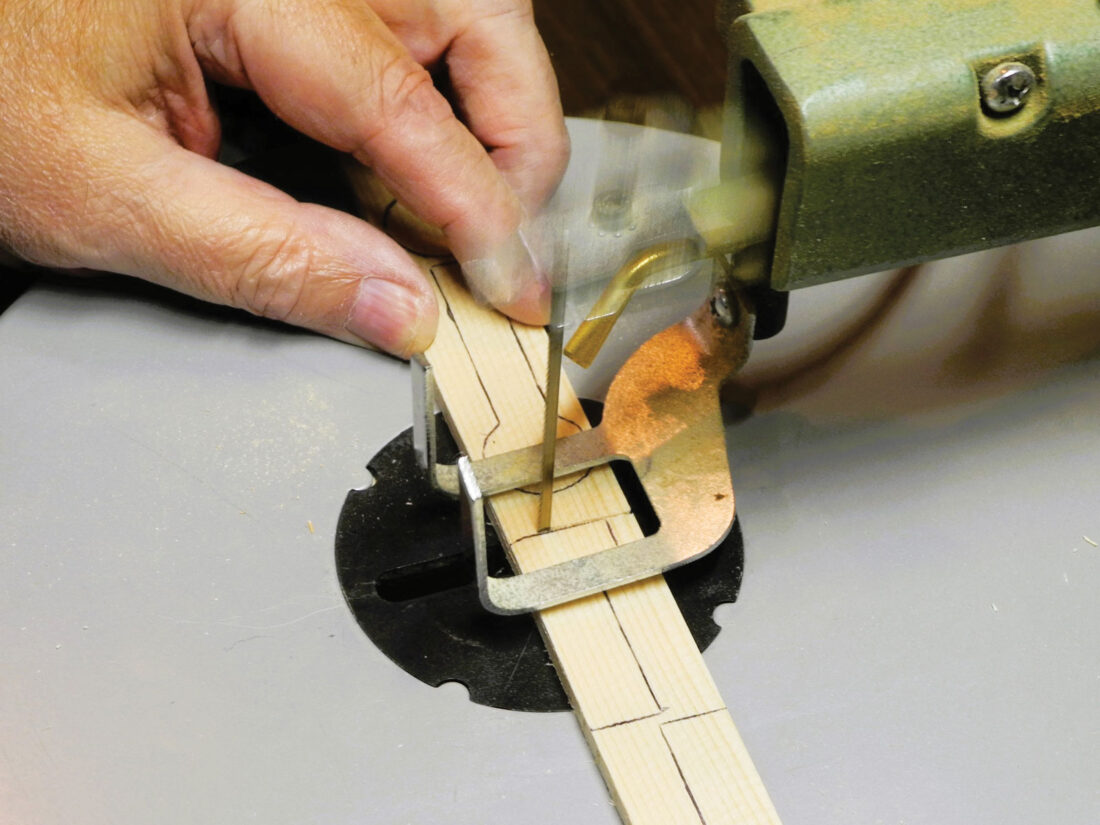
Cutting the arms and legs on a scroll saw. (Photo courtesy of Jess Mancini)
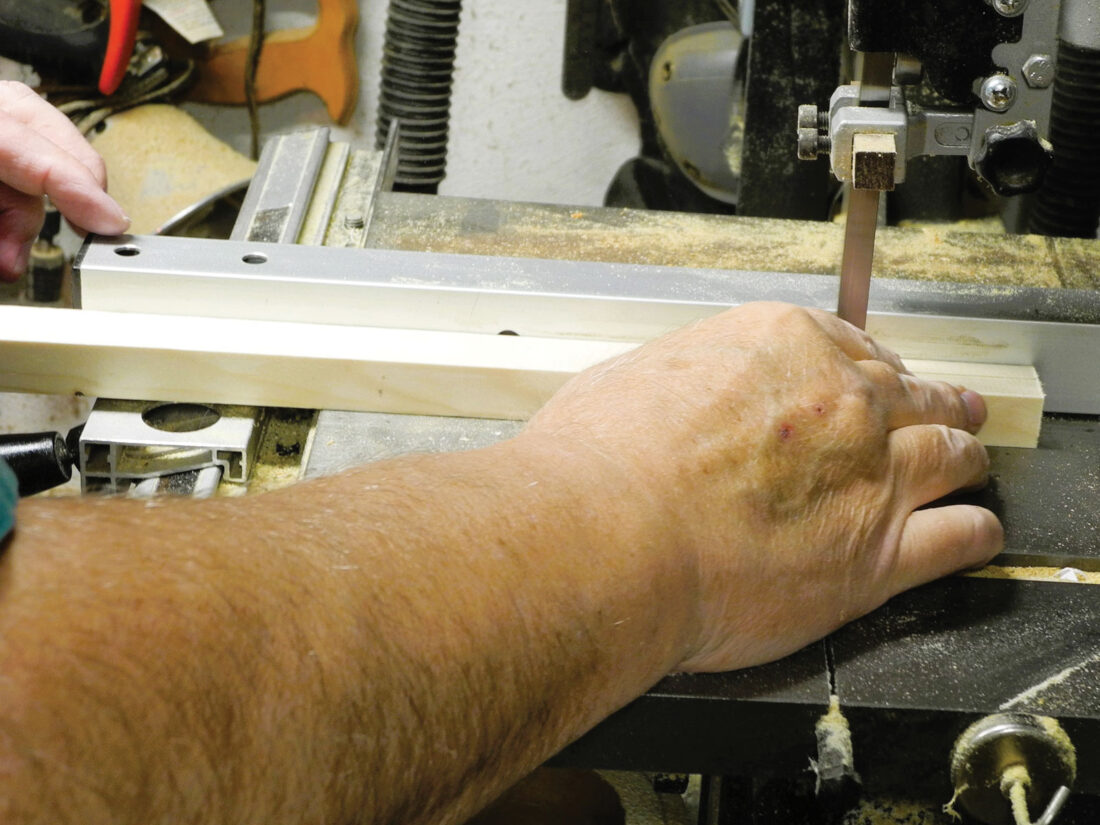
Ripping scrap pine for the levers on a band saw. (Photo courtesy of Jess Mancini)
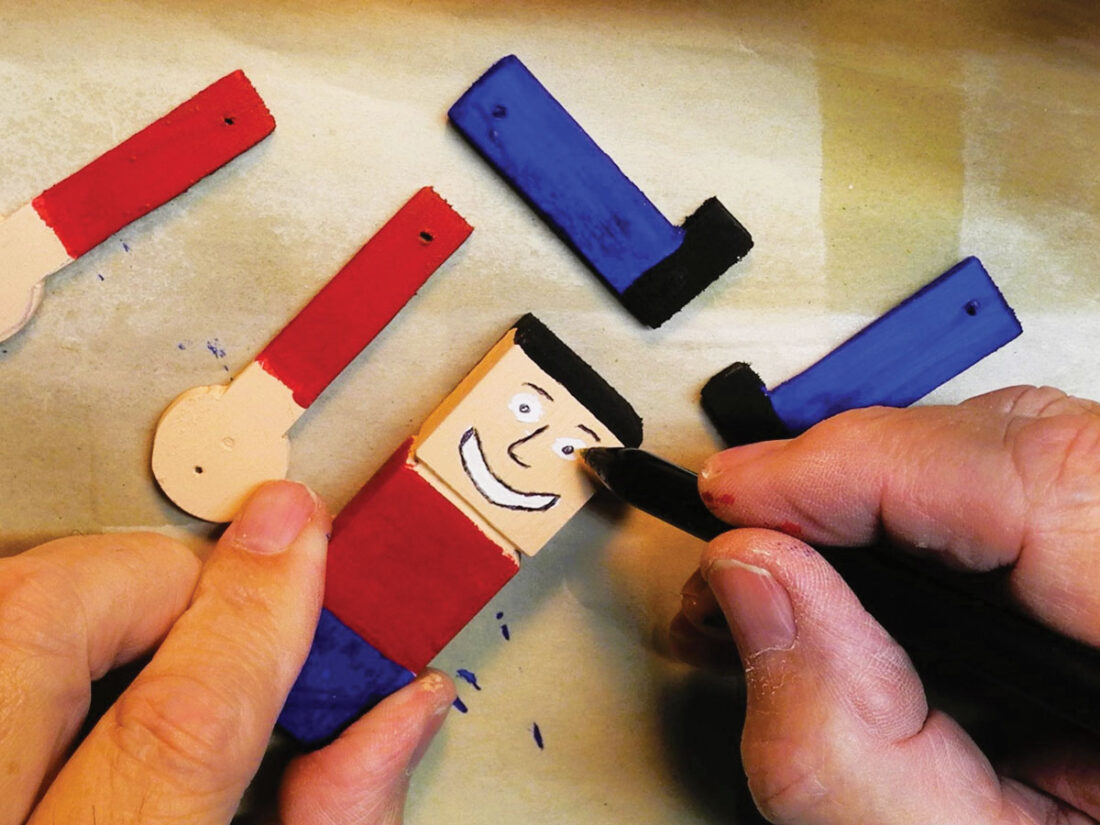
Acrylic paint is inexpensive and available from a hobby store, Walmart and other discount stores. (Photo courtesy of Jess Mancini)
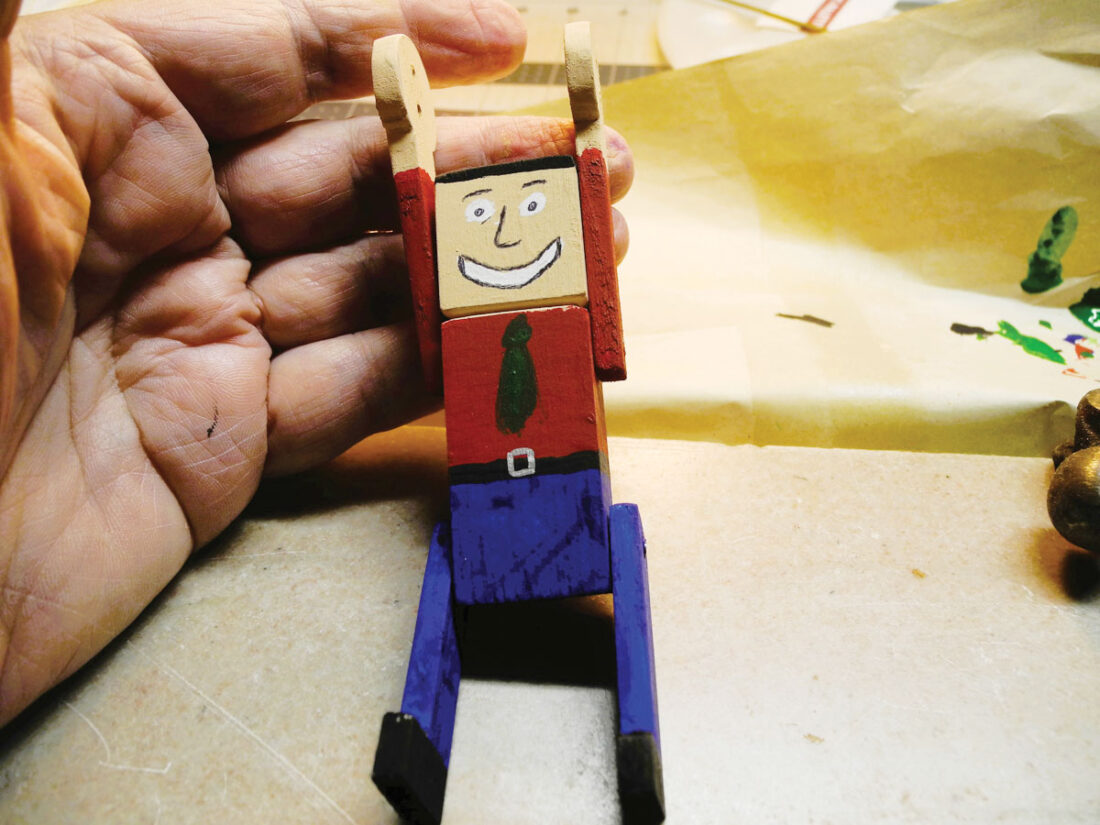
Acrobat Man is assembled and is ready to go. (Photo courtesy of Jess Mancini)
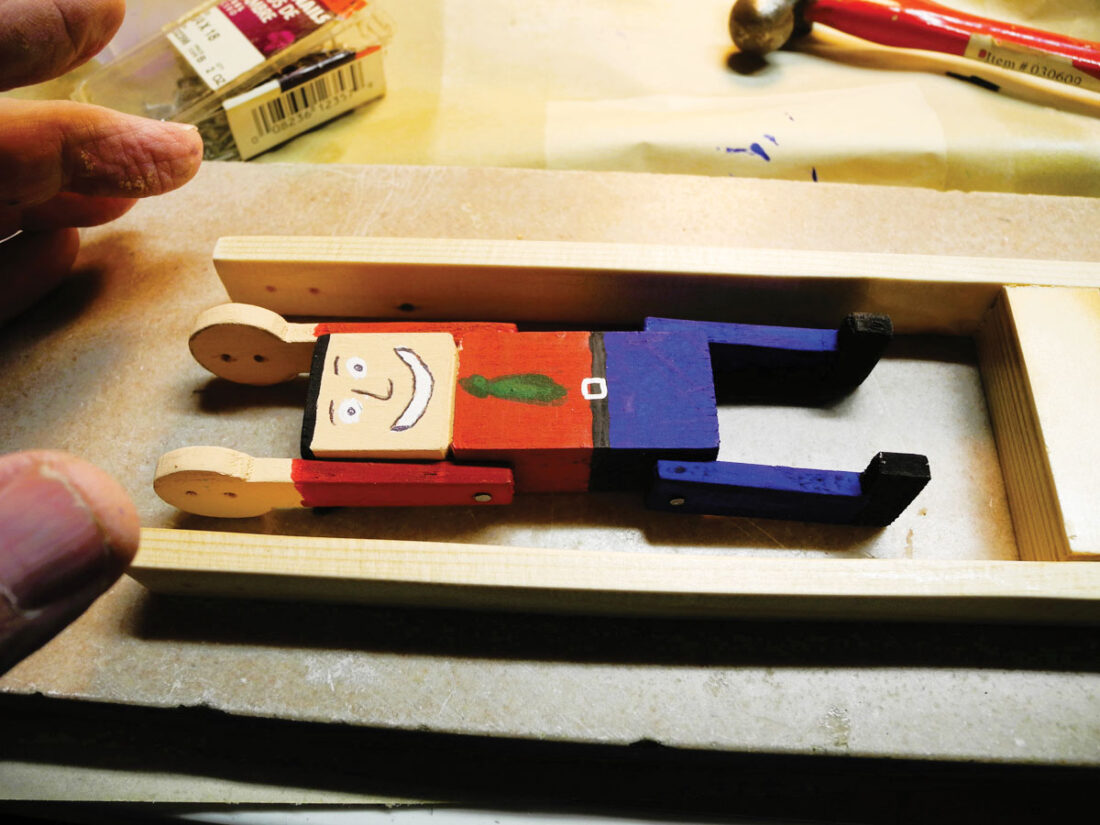
Adjusting the levers to fit Acrobat Man. (Photo courtesy of Jess Mancini)
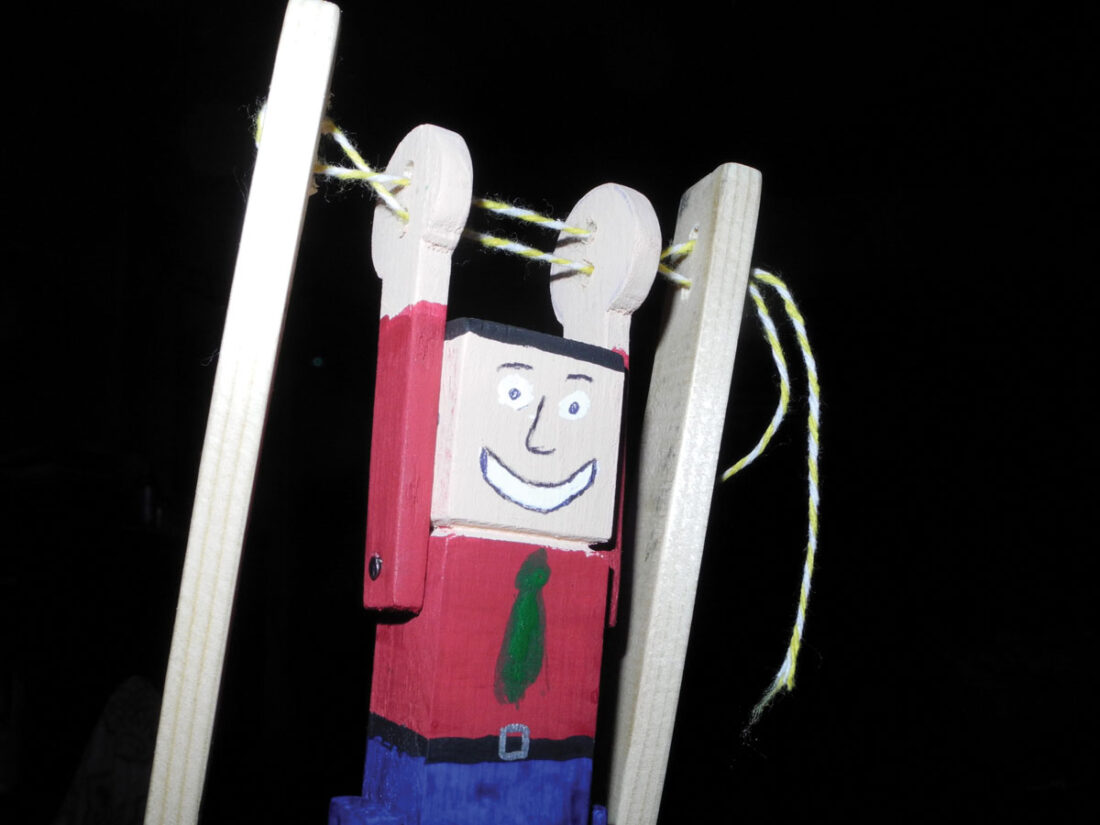
This is how the string is threaded through the hands and the levers. (Photo courtesy of Jess Mancini)
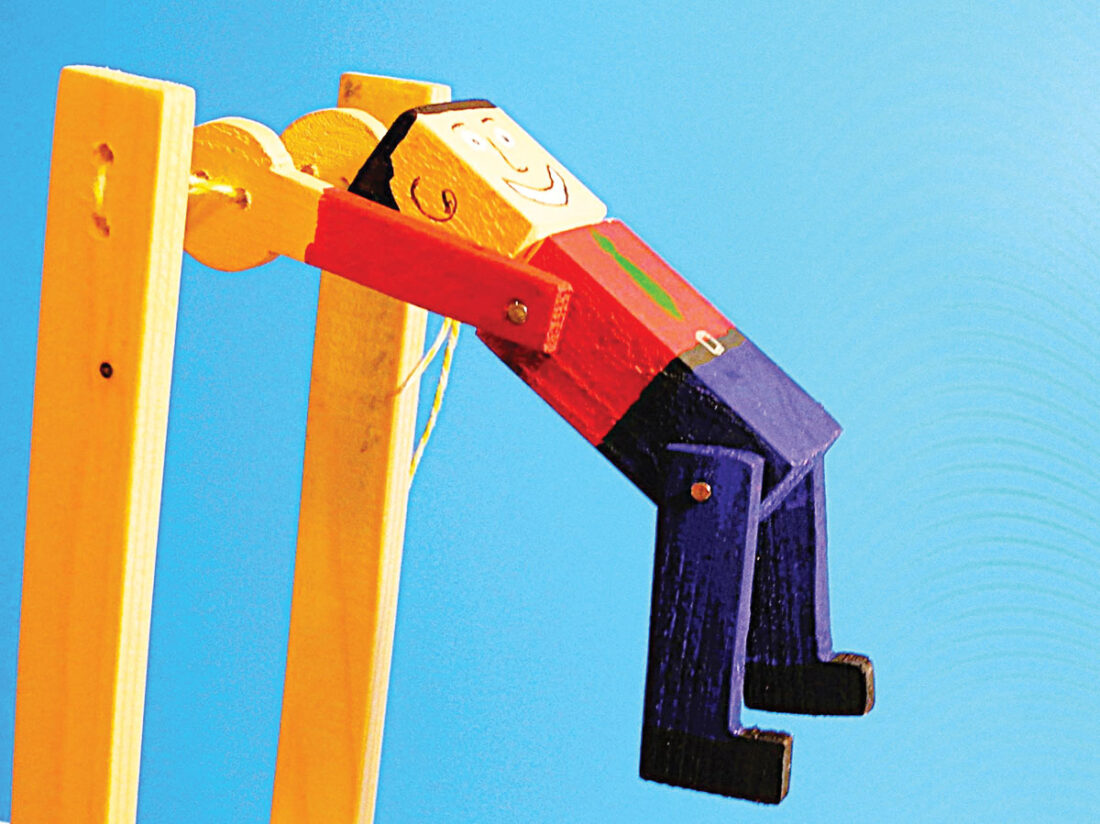
Squeezing the levers together spins Acrobat Man around and around. (Photo courtesy of Jess Mancini)
I made a template of the arms and legs from heavy paper and traced it onto the wood. (Photo courtesy of Jess Mancini)
The groove divides the head from the torso. (Photo courtesy of Jess Mancini)
Cutting the arms and legs on a scroll saw. (Photo courtesy of Jess Mancini)
Ripping scrap pine for the levers on a band saw. (Photo courtesy of Jess Mancini)
Acrylic paint is inexpensive and available from a hobby store, Walmart and other discount stores. (Photo courtesy of Jess Mancini)
Acrobat Man is assembled and is ready to go. (Photo courtesy of Jess Mancini)
Adjusting the levers to fit Acrobat Man. (Photo courtesy of Jess Mancini)
This is how the string is threaded through the hands and the levers. (Photo courtesy of Jess Mancini)
Squeezing the levers together spins Acrobat Man around and around. (Photo courtesy of Jess Mancini)
Trending
My dad about 65 years ago made a toy for my little brother and me that amazed us.
It was a wooden man who flipped over and over just by squeezing it. I remember when he gave it to us.
I hope I can describe how to make one well enough that everyone understands. Briefly, the wooden toy is a man whose arms and legs moved freely between two poles that when compressed, tightened a string that twists and flips him around and around. I never knew what the toy was called, but I call him Acrobat Man.
This project requires no experience and only simple tools and supplies: scrap wood, cheap paint, a coping or scroll saw, a sharp knife and the care not to cut a finger. If you do, don't bleed on the wood, because it will stain.
Gather all the materials first. I used a scrap two-by-four and cut the pieces from that on a band saw. The arms and legs are cut from a ¼-by-¾-inch pine. The head and torso are made from a ¾-by-1-inch blank about 3 ½ inches long. The levers are about ¼ by ¾ inch wide and 12 inches long. The fulcrum is 2 ¼ inch long and ¾-by-¾ inch square. Dimensions are subjective and depend on your application. You determine the size you need through trial and error.
Cut templates for the arms and legs from heavy paper and trace two of each onto the wood.
I make the arms and legs after the head and torso are cut to get a good idea of how long they should be. Legs are longer than the arms and the length of each is determined by comparing their length with the head and torso, but make them proportional with the torso. A real person doesn't have arms longer than their legs.
The legs resemble an "L," the "L" part for the shoes at the end of the legs. Make the arms and legs about ⅜ inch wide, although that too is subjective. In my design, the hands of the arms are round, about ¾ inch, or the size of a penny.
I used a scroll saw to cut the arms and legs. Drill a single hole in the ends of the arms and two holes on the hands, The single hole is where the arms are attached to the torso with a small brad nail so they freely rotate. Drill two small holes in each hand about a half inch apart and large enough for the string to pass through.
Sand each of the pieces before painting. The legs are painted any color, but the shoes should be of a contrasting color. The hands of the arms should be painted flesh color from the end of the shirt sleeves.
The head and torso will take longer to paint. For the torso, I first paint the base color of the shirt. I paint a tie after the shirt dries. I paint a belt where the pants connect to the shirt.
The head is harder. I can best explain by visualizing a LEGO head with the face on the front, the ears on the side and the hair on the top, around the ears on the side, on the forehead on the front and on the back. I cut a groove about an inch from the end to separate the head from the torso.
Next turn attention to the sides that make the man flip around. Drill two holes about a half inch apart, also large enough for the string to go through, at the top of each side.
The fulcrum is fastened to the sides so when squeezed, the levers spread apart and the string is tightened causing the man to flip. Lengths of the sides and fulcrum are dependent on the length and width of the man. I like to have more length on the bottom of the fulcrum because it's easier to tighten the string. The main consideration, besides the size of the man, is the size of the child's hands. Obviously they can't put their hand around something 6 inches wide. I think no more than 3 inches wide is enough.
Also finish the sides and fulcrum before assembly. I prefer lacquer because it dries in minutes rather than hours.
My Acrobat Man is 5 ½ inches from top of the hands to the bottom of the shoes. I have a half inch clearance from the bottom of the shoes to the top of the fulcrum.
Assembly is now required.
Lay the sides on a flat surface with Acrobat Man in between, his hands even with the tops. Measure about a half inch from the bottom of the shoes and fasten the fulcrum to each side. I used finishing nails.
The arms and the sides can now be threaded. Starting with the top hole on the left lever, run the string to the bottom hole of the left hand. From the left hand through to the bottom hole in the right hand. From the right hand to the top hole of the right lever. From the bottom hole of the right lever to the top hole of the right hand. From the right hand to the top hole of the left hand. From the left hand to the bottom hole of the left lever. Tie the ends together at this point.
The toy is ready. You don't have to be a kid to have fun watching Acrobat Man flip over and over and still keep that smile on his face.
I find it amusing and a nice waste of time. Very young children will have fun until they grow old enough to be involved in other things. It was baseball when I was young, computers and video games today, and who knows what in the years to come. That's not bad. That's good. Generations must embrace new technologies to advance. Otherwise, we stagnate and we would still be living in huts.
Perhaps the toy will sit in a drawer or a box, but decades rom now, when your kids are old and rediscover it, they will remember the day you made it and gave it to them.
***
Unless you think this column wasn't enough of a waste of time, send ideas for "Wastin' Time with Jess Mancini" to Jess Mancini at jmancini@newsandsentinel.com.